Master the art of chaos in DIY computer upgrades
Embarking on a DIY computer upgrade promises a rewarding blend of excitement and chaos, where tangled cables and fumbled connections often steal the spotlight. This guide distills the chaos into manageable steps, emphasizing the importance of preparation, compatibility checks, and patience. As you navigate the intricate world of hardware components—from CPUs and RAM to graphics cards—you’ll learn that understanding their evolution and interface standards transforms daunting tasks into achievable projects. The community’s humorous tales of cable spaghetti and BIOS blunders serve as both cautionary and motivational tales, reminding us that setbacks are part of the journey. With a calm mindset and a sense of humor, each challenge becomes an opportunity to grow your skills and confidence. Are you ready to turn chaos into competence and build a machine that’s not just faster, but a true reflection of your resilience and ingenuity?

Dive Into the Chaos of DIY PC Upgrades with a Smile
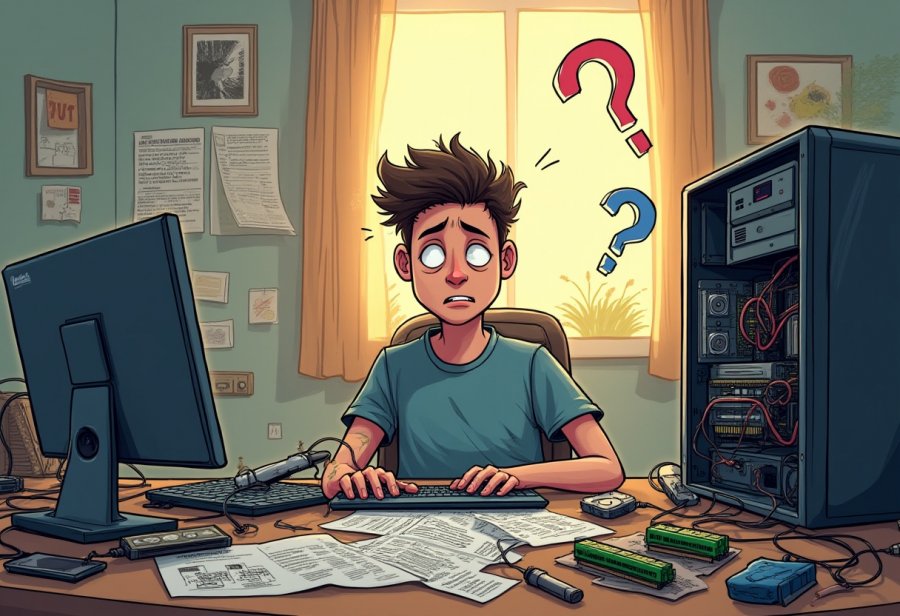
Starting a DIY computer upgrade is often like stepping into a chaotic playground, where cables twist and turn like a spaghetti mess and tiny screws seem to hide just out of reach. It’s a process filled with anticipation—and a fair share of confusion. The thrill of improving your system quickly clashes with the reality of tangled wires, unfamiliar parts, and the occasional “uh-oh” moment. But that’s all part of the fun, right?
Before diving in, a little preparation can make a huge difference. Checking compatibility—making sure your motherboard supports that shiny new CPU or that your case has room for the beefier graphics card—sets the stage for a smoother experience. Gathering the right tools beforehand, like screwdrivers and anti-static wristbands, helps keep things organized and avoids scrambling for essentials mid-project. Creating a clean, well-lit workspace is also key. It’s easier to work carefully when everything is within reach, and photos of your current setup can serve as a helpful guide during reassembly.
Handling components with care is crucial. Touching parts by their edges minimizes static damage, and taking your time prevents accidental mishaps like bent pins or loose connections. Patience is your best friend here—rushing can lead to frustrating setbacks that slow down your progress. Remember, it’s better to double-check each connection than to deal with the chaos of a hardware malfunction later on.
Once everything is installed, reconnecting cables thoughtfully is just as important. Organizing wires not only makes your system look neater but also improves airflow and simplifies future troubleshooting. Before powering up, a final review—making sure all screws are tight and no tools are left inside—can save you from surprises during startup. Then, turning on your PC and entering the BIOS to verify hardware recognition becomes your last step before enjoying the fruits of your labor.
Troubleshooting is almost inevitable. If your system doesn’t boot or only recognizes some of the new hardware, don’t panic. Double-check all connections, compatibility notes, and BIOS settings. Often, a loose cable or outdated firmware is the culprit, and a systematic approach can turn chaos into clarity. Even seasoned builders encounter setbacks; the key is to stay patient and keep a sense of humor about the process.
Remember, every hiccup and tangled cable is part of the learning curve. Each challenge you overcome not only improves your technical skills but also boosts your confidence. Embracing the chaos as a normal part of the upgrade journey makes the experience more enjoyable and less stressful. It’s about transforming frustration into fun and turning your machine into a reflection of your effort and patience.
So, go ahead—dive into your upgrade with a sense of curiosity and resilience. With a bit of preparation, a calm mindset, and a sense of humor, what seems like chaos today becomes a badge of achievement tomorrow. Every screw turned and cable managed adds to your story as a DIY builder, making each successful upgrade a little victory worth celebrating.
Decoding the Building Blocks and Evolution of Hardware
Computers are made up of several core components that work together to keep everything running smoothly—whether you’re gaming, working, or just browsing. The main parts include the CPU, which acts as the brain of the machine, and RAM, which helps your computer juggle multiple tasks without slowing down. Storage devices like SSDs and HDDs keep your files accessible, while the graphics card handles visuals, especially if you’re into gaming or creative work. Understanding these building blocks is essential before diving into upgrades, because knowing what each part does helps you avoid common pitfalls and compatibility issues.
The history of DIY upgrades stretches back decades. In the early days, swapping out a hard drive or adding more RAM was straightforward and rarely required technical expertise. As technology advanced, hardware became more complex but also more modular. Modern motherboards support a wide range of CPUs, RAM modules, and graphics cards, making upgrades more accessible than ever. However, this flexibility means compatibility matters more; matching the right socket type for your CPU or ensuring your RAM fits within supported speeds can prevent headaches down the line.
Hardware design has also become increasingly standardized. Today’s components are built to fit into common cases and connect via familiar interfaces like PCIe and NVMe. These standards have made swapping parts faster and easier, often reducing the need for extensive technical know-how. But they can also lead to mismatches if you’re not paying attention—installing a graphics card that’s just a little too big for your case or choosing a CPU incompatible with your motherboard’s socket. Awareness of these details keeps your upgrade process smooth and frustration-free.
The evolution of interfaces, especially PCIe for graphics cards and NVMe for SSDs, has pushed performance boundaries. These faster data transfer standards mean your upgrades can deliver real speed improvements, making your system more responsive. SSDs, in particular, replaced traditional spinning drives, dramatically reducing boot times and load screens. This shift isn’t just about physically swapping parts; it’s about selecting components that are compatible and optimized for your needs, turning your upgrade into a smarter, more effective process.
Having a solid understanding of these key parts and their evolution helps you plan smarter upgrades. When you know your motherboard’s socket type or what kind of RAM it supports, you avoid costly mistakes and save time. Familiarity with terms like BIOS, which may need updating to recognize new hardware, also helps prevent surprises. This foundational knowledge transforms what could be a chaotic process into a clear, manageable project—giving you confidence to upgrade without feeling lost in technical jargon.
Embracing the Community Spirit and Humor in Modern DIY Culture
Today’s attitude toward DIY computer upgrades is a lively mix of excitement, caution, and humor. Many tech enthusiasts—gamers, content creators, and hobbyists—see upgrading as a rewarding way to boost performance without splurging on a whole new machine. These communities thrive on sharing tips, funny mishaps, and creative builds, turning their rigs into personal statements with LED lighting, custom cases, and overclocked components. For them, upgrading isn’t just about faster speeds; it’s a badge of skill and a way to express personality through hardware choices.
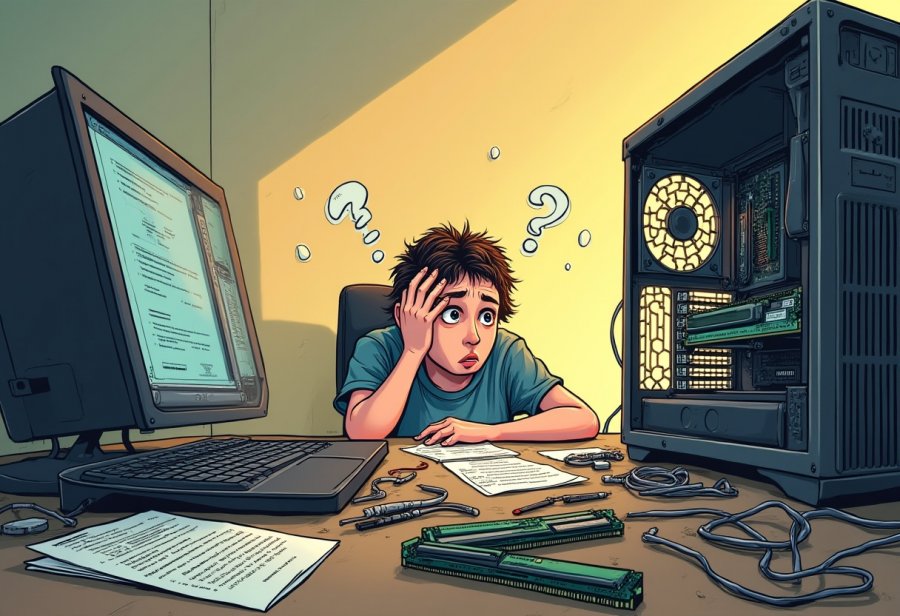
But not everyone dives in without hesitation. Some users worry about voiding warranties or damaging delicate parts. The online forums are full of amusing stories—cable spaghetti disasters, BIOS hiccups, hardware conflicts—that remind us even experienced builders face chaos. These tales keep the community grounded, making the process more relatable and less intimidating for newcomers. They show that setbacks are normal, and humor is often the best way to cope with the inevitable chaos.
The prevailing vibe encourages curiosity and hands-on learning. Many see DIY upgrades as a chance to understand their machines better, fostering a culture of experimentation—even if mistakes happen along the way. Sharing advice, troubleshooting tips, and rookie blunders creates a supportive environment where chaos becomes part of the fun. Tutorials and unboxing videos have democratized the process, making complex upgrades accessible to anyone willing to invest patience and a bit of research.
Humor plays a huge role in this scene. Upgrading stories often feature hilarious failures—spaghetti cable tangles, BIOS resets gone wrong, or parts that just won’t fit. These stories turn chaos into camaraderie, easing the pressure and encouraging others to jump in. The community’s relaxed attitude emphasizes that mistakes are part of the learning journey, turning frustration into shared laughs and small victories.
Despite the risks, the overall outlook remains optimistic and adventurous. People love tinkering because it feels empowering, and every successful upgrade boosts confidence. They accept that setbacks are inevitable but see them as opportunities to learn, adapt, and improve. This mindset keeps the spirit of DIY alive—focused on creativity, resilience, and the joy of building something uniquely yours.
In essence, current trends show a community that values curiosity over perfection. They celebrate the messy, unpredictable moments as part of the process, not obstacles to avoidance. Embracing the chaos as a natural element of hardware tinkering makes each upgrade more than just a technical task—it becomes a memorable experience. It’s about enjoying the journey, learning from mishaps, and sharing those stories as part of the greater adventure of mastering DIY tech upgrades.
Step-by-Step Guide to Safe and Successful PC Upgrades
Starting a DIY computer upgrade can feel like stepping into uncharted territory, but a bit of preparation makes all the difference. Before you pick up a screwdriver, spend some time researching your specific machine and the parts you plan to install. Double-check compatibility—ensure your motherboard supports the CPU or RAM you want, and that your case can accommodate larger graphics cards or cooling solutions. Gathering all necessary tools in advance, like screwdrivers, anti-static wristbands, and thermal paste, helps prevent last-minute chaos and keeps the process smooth.
Creating an organized workspace is crucial. Find a flat, well-lit surface where you can lay out your tools and components within easy reach. Taking photos of your existing setup before disconnecting anything provides a helpful reference during reassembly, saving you from confusion later. Handle all parts by their edges to minimize static damage or fingerprints on sensitive surfaces. Patience is key—rushing can lead to bent pins, loose connections, or other costly mistakes. Going slow and verifying each step ensures your hardware stays safe and properly installed.
When installing new components, gently but firmly click them into place, making sure connectors are fully seated. If something doesn’t fit easily, stop and double-check compatibility and orientation. Forcing parts can damage delicate pins or sockets, turning your upgrade into a troubleshooting nightmare. Once everything is installed, reconnect your cables thoughtfully. Organize wires to promote airflow and make future troubleshooting easier; tidy cables aren’t just neat—they help your system stay cool and accessible.
Powering up your PC is the moment of truth. Enter the BIOS immediately to check if your new hardware is recognized. Sometimes, a BIOS update or reset is needed to support recent components. If your system doesn’t boot or recognizes only some parts, revisit your connections and compatibility notes. Often, issues boil down to a loose cable, incompatible BIOS version, or unsupported hardware. Troubleshooting systematically saves headaches and builds your confidence as you learn what works—and what doesn’t.
Once your hardware is recognized, install or update drivers and run stability tests. Keep an eye out for any irregular behavior or errors. If problems appear, double-check connections and settings—most issues are simple fixes. Remember, even experienced builders face setbacks; patience and a good sense of humor turn these moments into learning opportunities. Celebrating small wins, like a successful BIOS update or faster load times, makes the process rewarding.
As you finish, take a moment to review your work. Ensure all screws are tight, no tools are left inside, and cables are neatly managed. Power on again and enjoy your upgraded machine. The chaos of tangled wires and minor mishaps is part of the experience—and each step adds to your skills and confidence. With patience, attention, and a steady hand, your DIY upgrade becomes more than just a tech task; it’s a satisfying project that teaches you how your machine works and how to keep it running smoothly for years to come.
Turning Chaos into Confidence: Enjoy the Journey of Upgrading
Embarking on a DIY computer upgrade often means stepping into a world where chaos is the norm, not the exception. Every tangled cable, misfitting part, or forgotten screw becomes part of the story—proof that learning involves a fair share of trial and error. Instead of viewing these moments as setbacks, see them as opportunities to build patience and sharpen problem-solving skills. Each challenge you conquer adds to your confidence, making your next upgrade smoother and more enjoyable.
Humor is a powerful tool in this process. Recognizing that even seasoned builders face their fair share of mess-ups turns frustration into camaraderie. Those spaghetti cables, BIOS hiccups, and hardware conflicts are just part of the journey. They remind us that chaos isn’t a sign of failure but a natural step in mastering your machine. By embracing the unpredictability, you turn what might seem like disasters into stories worth sharing and learning from.
Learning from mistakes is essential. When something doesn’t go as planned, take a moment to analyze what went wrong without getting frustrated. Often, a loose connection or an outdated BIOS is all that’s needed to fix the issue. Approaching problems with patience and curiosity transforms setbacks into valuable lessons. Over time, these experiences boost your confidence, making future projects feel less daunting and more like exciting puzzles to solve.
Enjoyment is the real reward. Celebrate small victories—like successfully installing a new component or getting your system to recognize your hardware after a tricky setup. These moments serve as reminders that progress is happening, and each success, no matter how minor, fuels your motivation. Seeing the chaos turn into a functioning, faster machine makes every effort worthwhile and turns the upgrade process into a memorable adventure.
Patience and flexibility are your best allies. Sometimes, upgrades reveal hidden compatibility issues or unexpected hurdles. Instead of rushing through, take a breath, troubleshoot calmly, and trust that every problem has a solution. This approach transforms potential frustration into a satisfying challenge, where each problem solved reinforces your skills and resilience. The chaos becomes less overwhelming when you see it as part of the natural learning curve, not an insurmountable obstacle.
Finally, every upgrade adds to your experience and confidence. The skills you develop now will make future projects easier and more rewarding. Whether you’re overclocking, modding, or simply swapping a hard drive, the chaos you encounter today becomes the expertise you carry forward. Embrace the mess, learn from every mishap, and enjoy the journey—each step makes you a better builder, and your machine a true reflection of your effort and resilience.